
Cheques
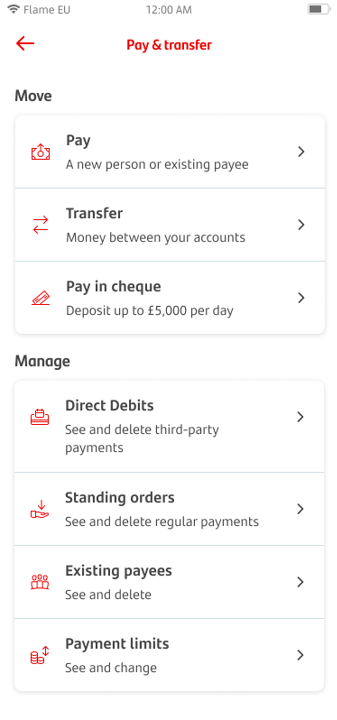
Select Pay & transfer from the home screen
Tap ‘Pay in cheque’
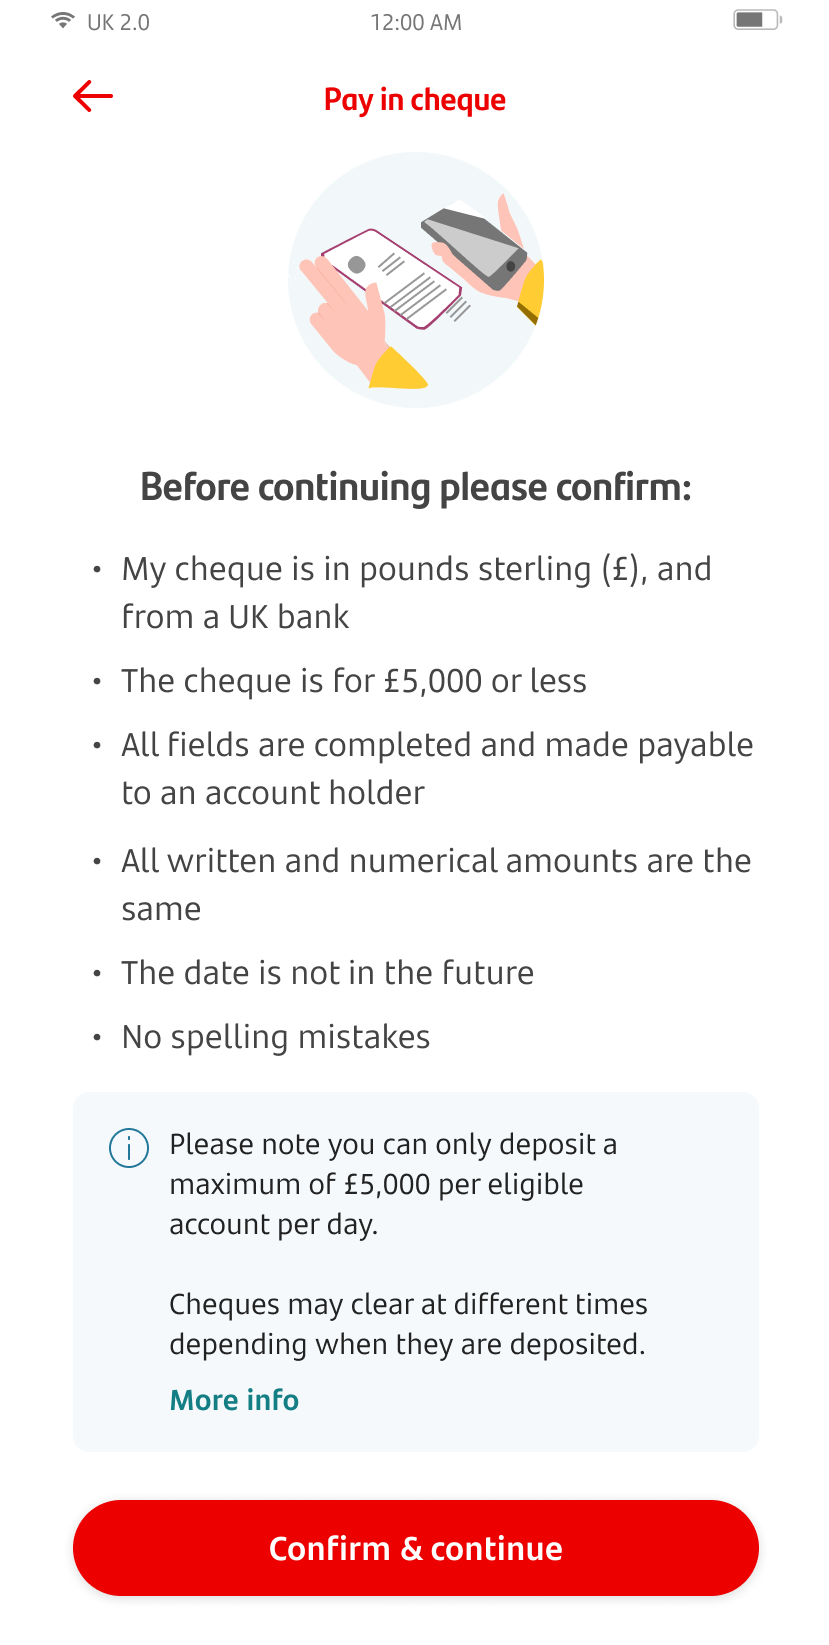
You’ll then be shown a list of things to check before paying in your cheque. If everything on this list is correct, tap 'Confirm & continue'.
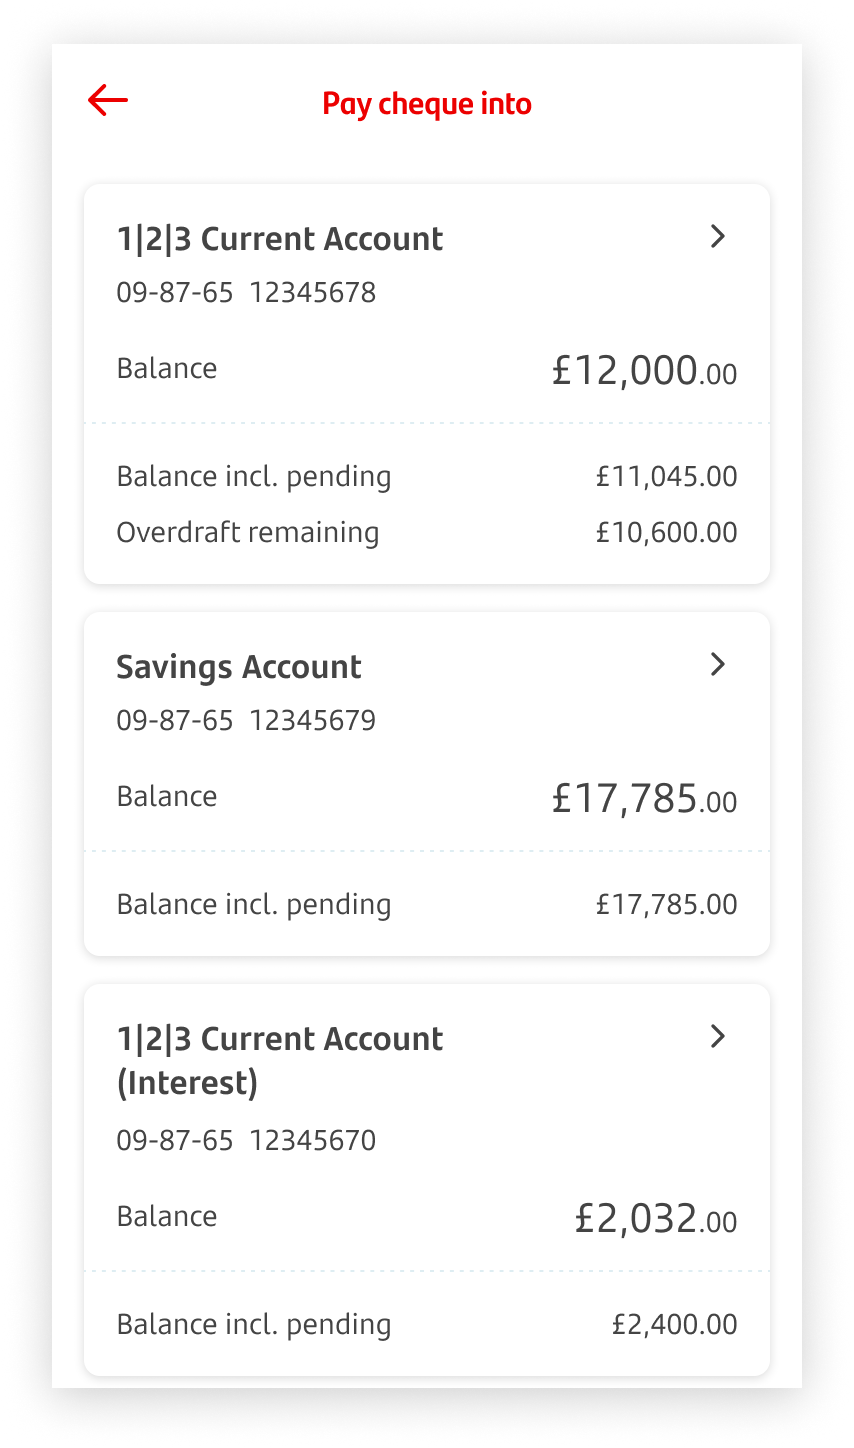
Select an account where you want to deposit the cheque to.
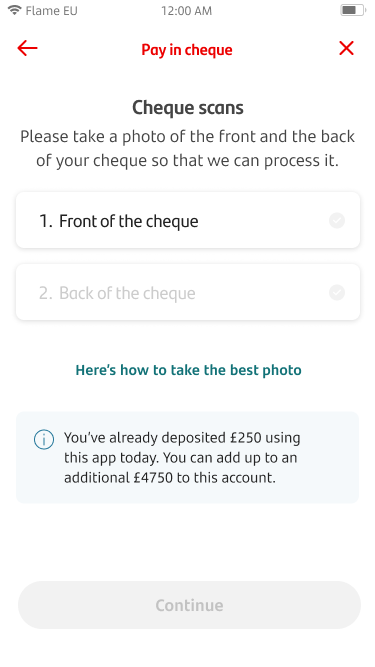
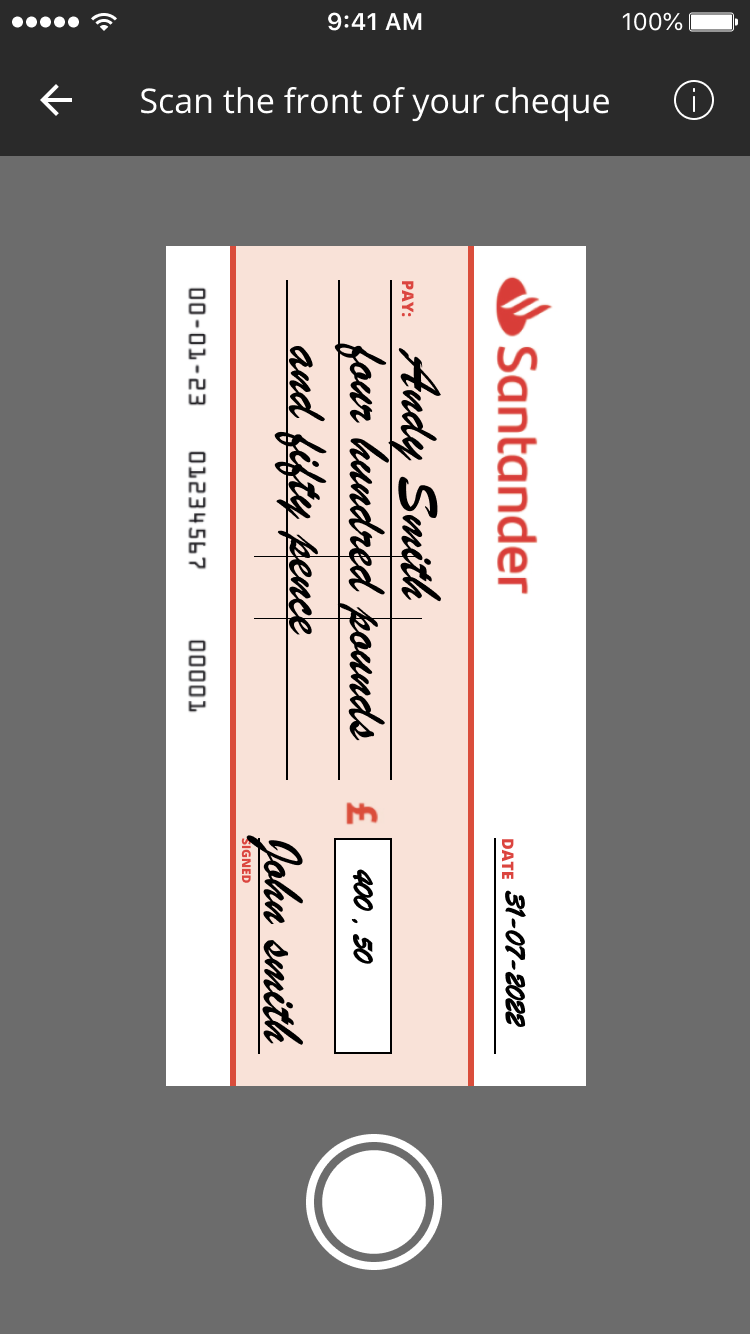
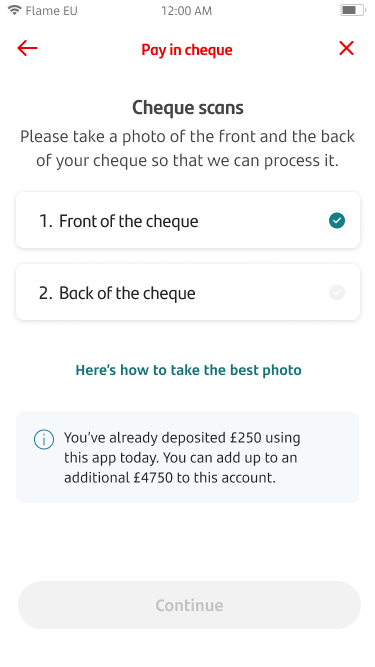
Choose ‘Front of the cheque’. If the app asks permission to access your phone camera, tap ‘OK’.
You’ll now be able to take a photo of your cheque. You’ll get tips on how to position your cheque. The photo will be taken automatically when the image is steady and clear, but you can take the photo manually as well.
- Make sure the cheque is on a flat, dark surface and is in good light.
- Make sure you capture the whole cheque, including the edges and the printed numbers at the bottom.
- Make sure your image is not blurry, and everything is in focus.
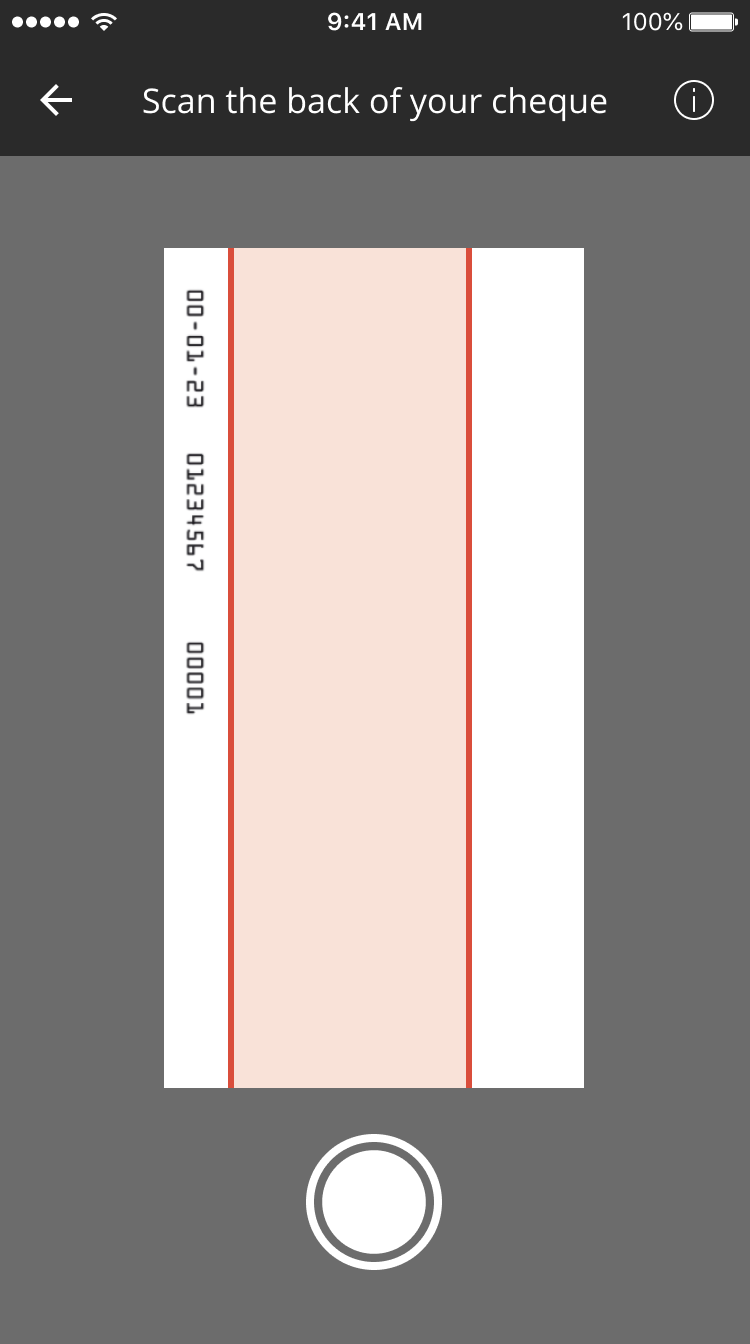
Once the front of the cheque is done, now you can tap on ‘Back of the cheque’ to take a photo of the back.
The camera will show again. Take a picture to continue.
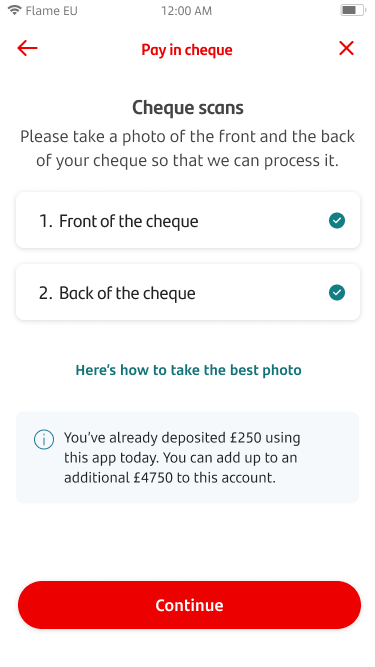
Once you've taken a photo of both sides of the cheque, tap 'Continue'.
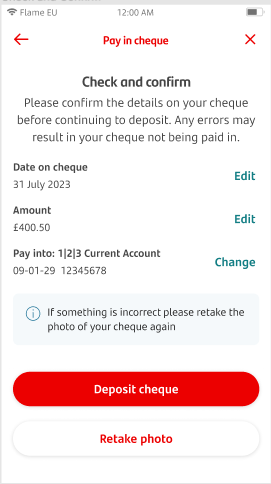
Check and review the date and amount. If all details are correct, tap ‘Deposit cheque'. If you need to take the photo again, tap ‘Retake photo’.
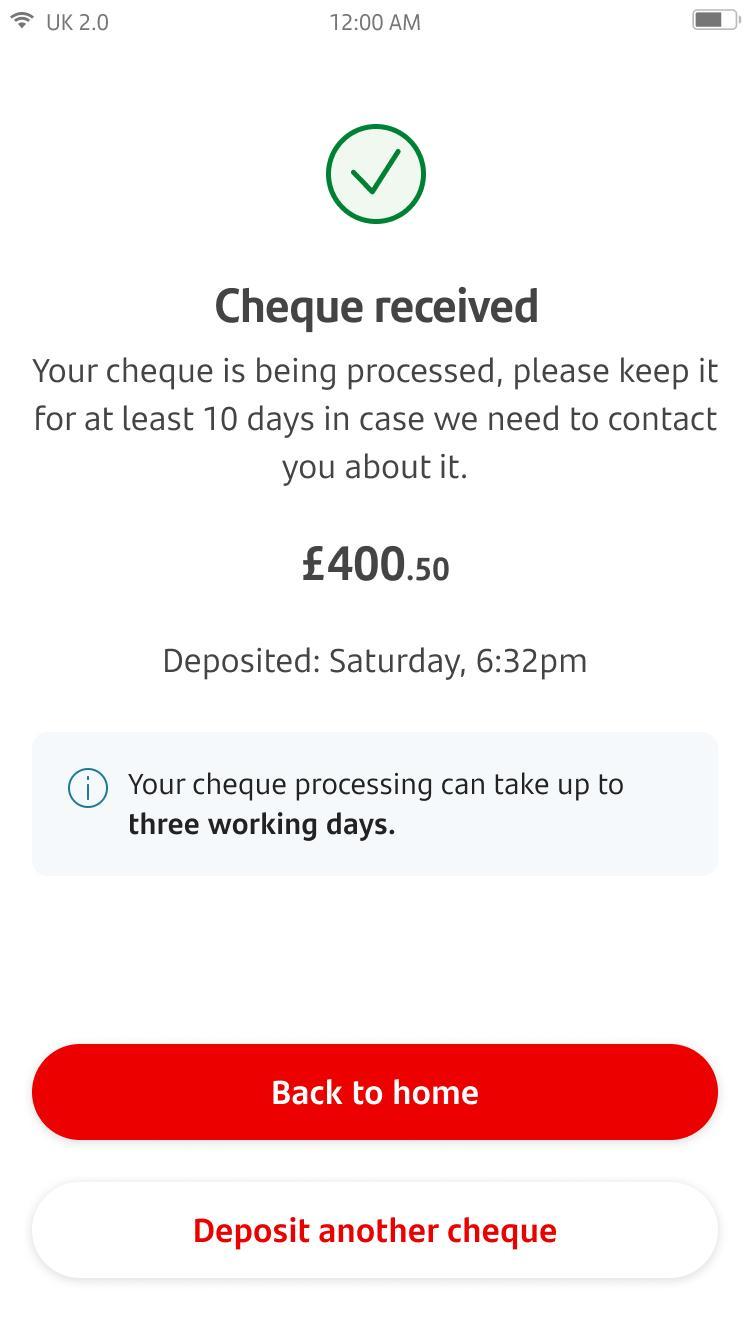
The cheque has now been scanned, and the money will be paid into the account once final verifications are completed successfully. If you’d like to scan another cheque, tap ‘Deposit another cheque’.
The app will tell you how long your cheque will take to process.